Special Topics Module 1
Research & Activity Documentation
Callan Yates
Project 1
Module 1
In this module, as a grop
Activity 1
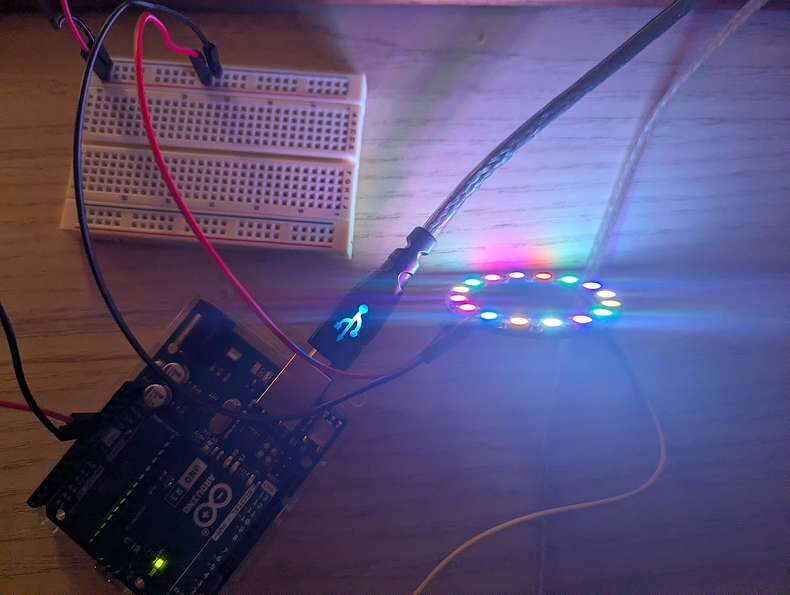
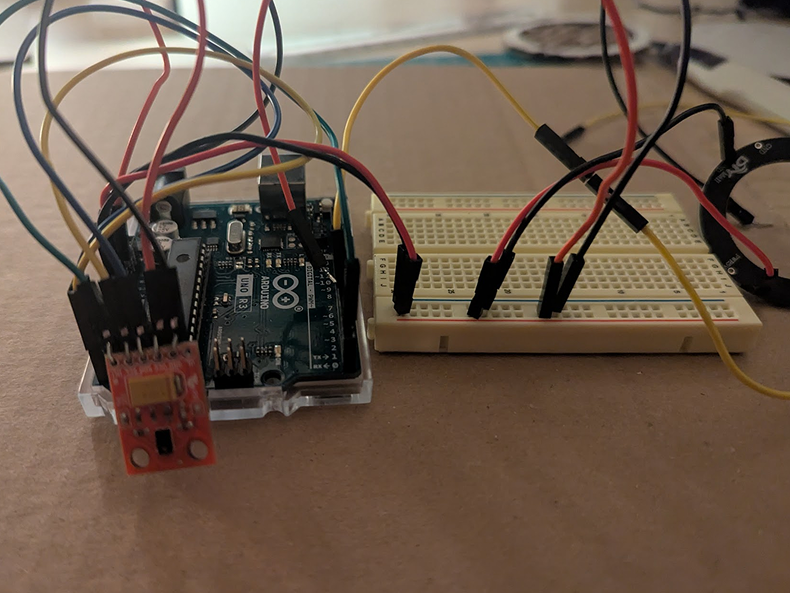
Activity 1 saw me considering the direction I wanted to take this course, prior to eventually joining a group. I vaguely considered directions I could take in regards to a previous project involving an interactive lamp, to see if I could take it further and / or explore different ideas. The other more digital direction I felt more keen on exploring involved development in 3D. Developing a simple sort of game stood out to me the most, as I desired to explore the variety of different aspects that goes into this sort of field. When I discovered what one group was planning on perusing, I mentioned my own thoughts and ideas and was brought on to the group.
Now properly involved, going off of what the group had already planned out, I did my share of research and brainstorming. My research went into how education can be applied to sandbox games, looking at an article by Zane Golparirani titled "How Sandbox Games Could Redefine the Way We Learn". This article really opened my eyes about the sorts of practices that can be considered when considering sandbox games due to the unique challenges and opportunities they can present. It brought forth a variety of different ideas.
Activity 2
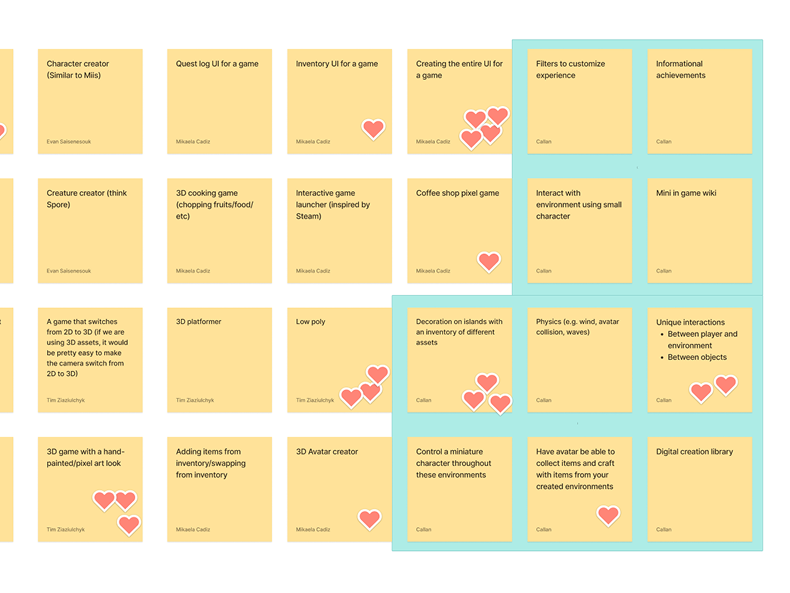
Narrowing down our focus from activity 2, we selected ideas we were wanted to explore, and individually, we each created our own moodboards to explore them. In my exploration, I looked at how different medias explored different aspects of a game we wanted to consider. With UI, I looked into Moonlighter due to its bookish, tactile feel. For function, I looked at Dorfromantik, an island building puzzle game that uses hexagonal tiles. For visuals, I looked at Smushi Comes Home, Loddlenauts, and Donut County, visually simple games that look pleasant in low poly and pixelated. We also considered character creation, so I looked into the likes of Animal Crossing: New Horizons and the Mii Maker on Nintendo Wii for inspiration as to what we could do for simple customization. The protagonist for Smushi Comes Home was also looked at for how simple we could make the main model.
Through this visual research, I came to better understand what sort of direction we were getting into, alongside of the exact scope of features we were considering. Comparing mood boards with others also helped fill in any gaps in our exploration, making it a continued learning experience for us all.
Moving forward, we now had to construct a definitive final concept using the core ideas of the project.
Workshop 1
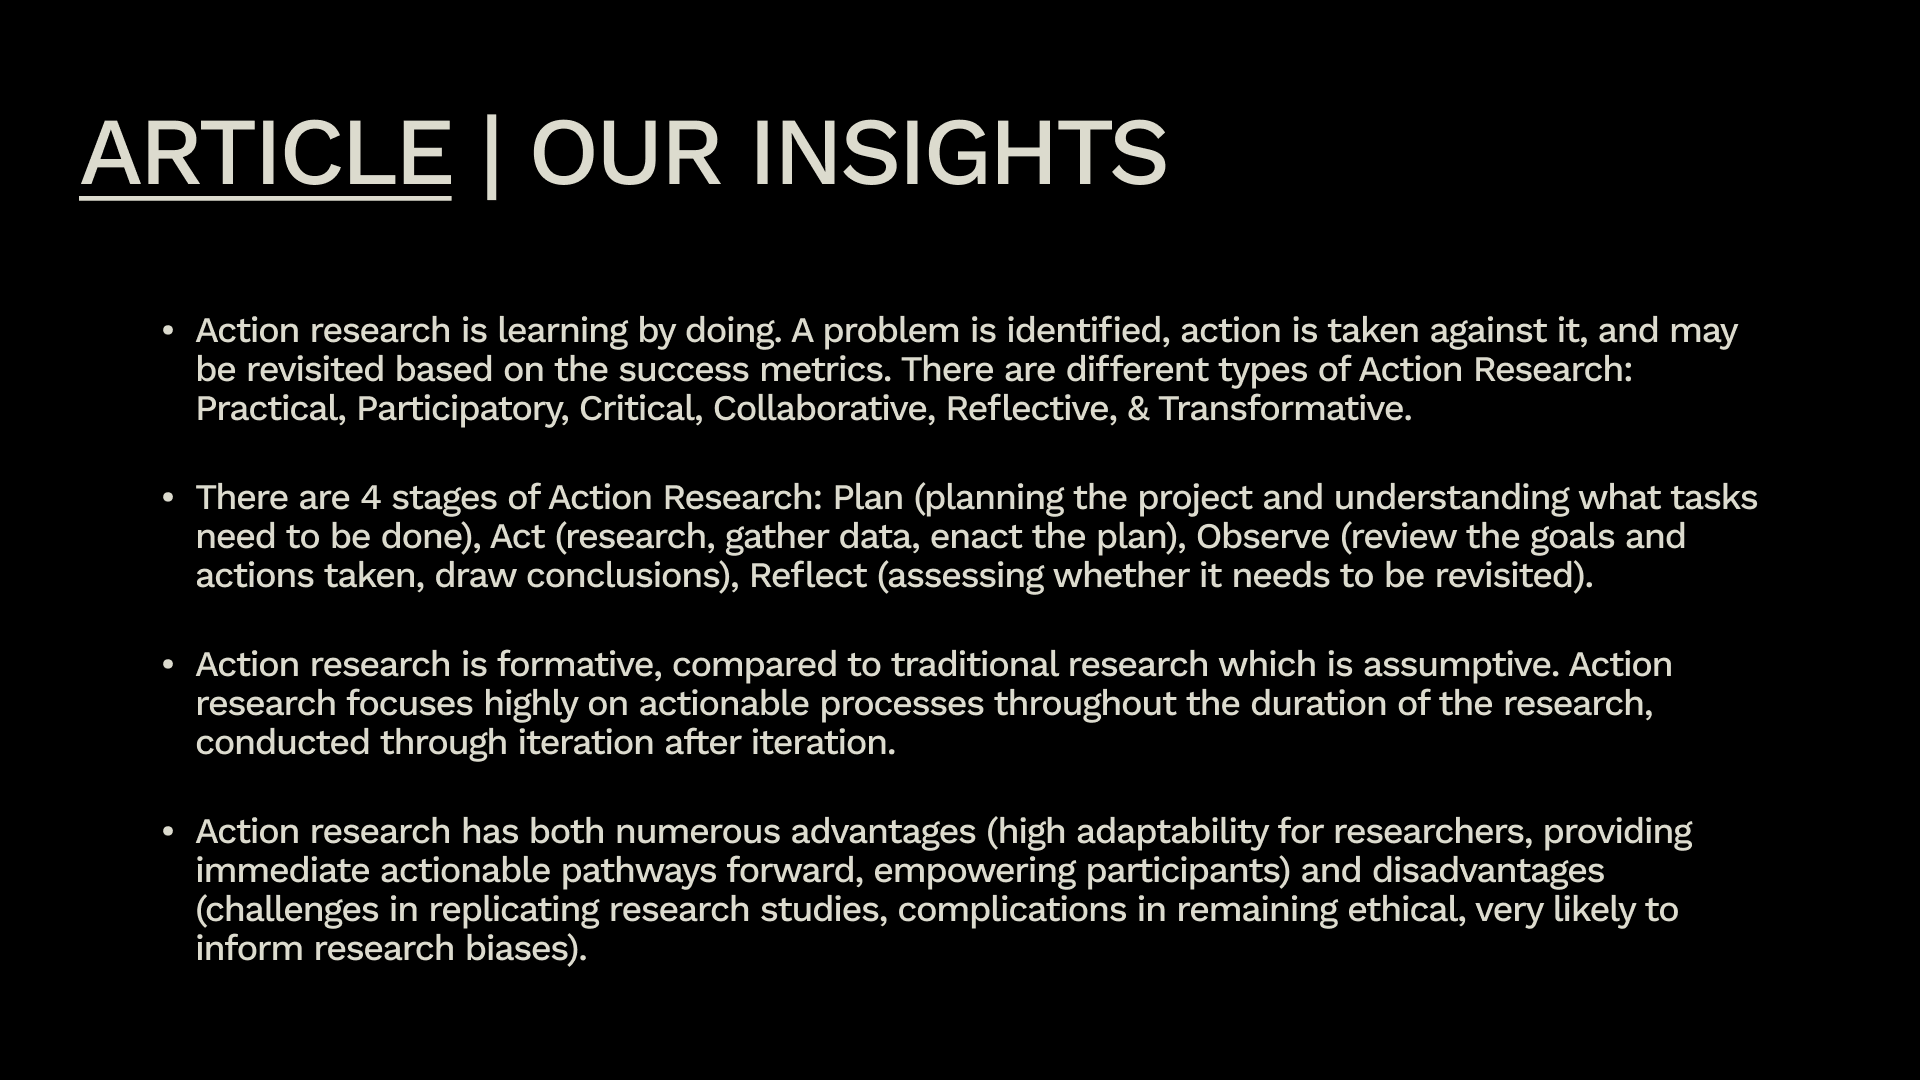
In this workshop, our group looked into Action Research, following a blog on questionpro.com/blog/action-research/ "Action Research: What it is, Types, Stages & Examples". When browsing action Research, we each focused on a different area. My focus was on collaborating on the different meaningful insights on action research.
Reflection on Research
Going through this blog really did help in providing me with additional context and information as to the different ways action research an help with solidifying ideas. I was not aware at the various stages and types this research was divided into, and it makes me realize that almost no matter the situation, action research can be used.
Moving forward, I do believe it's important that we make sure to implement different forms of action research as to make sure we receive rich feedback throughout our process.
Project 1
Project Concept
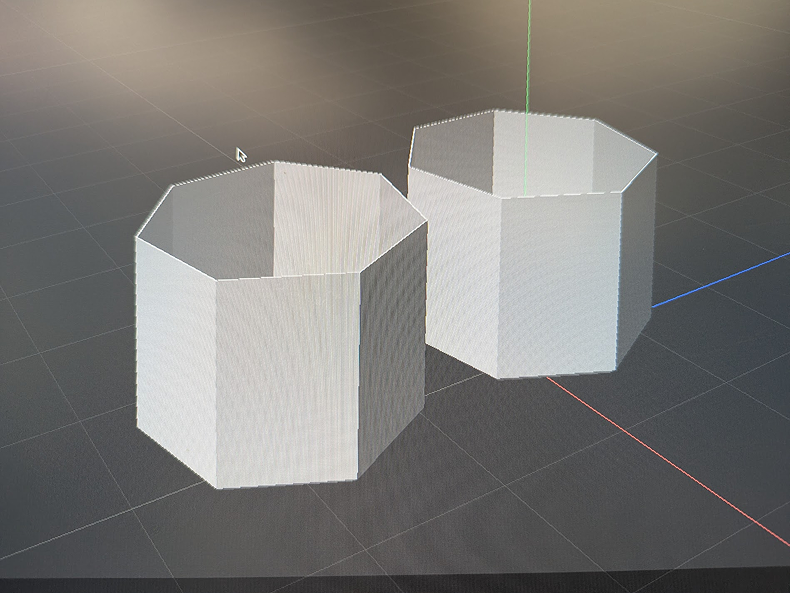
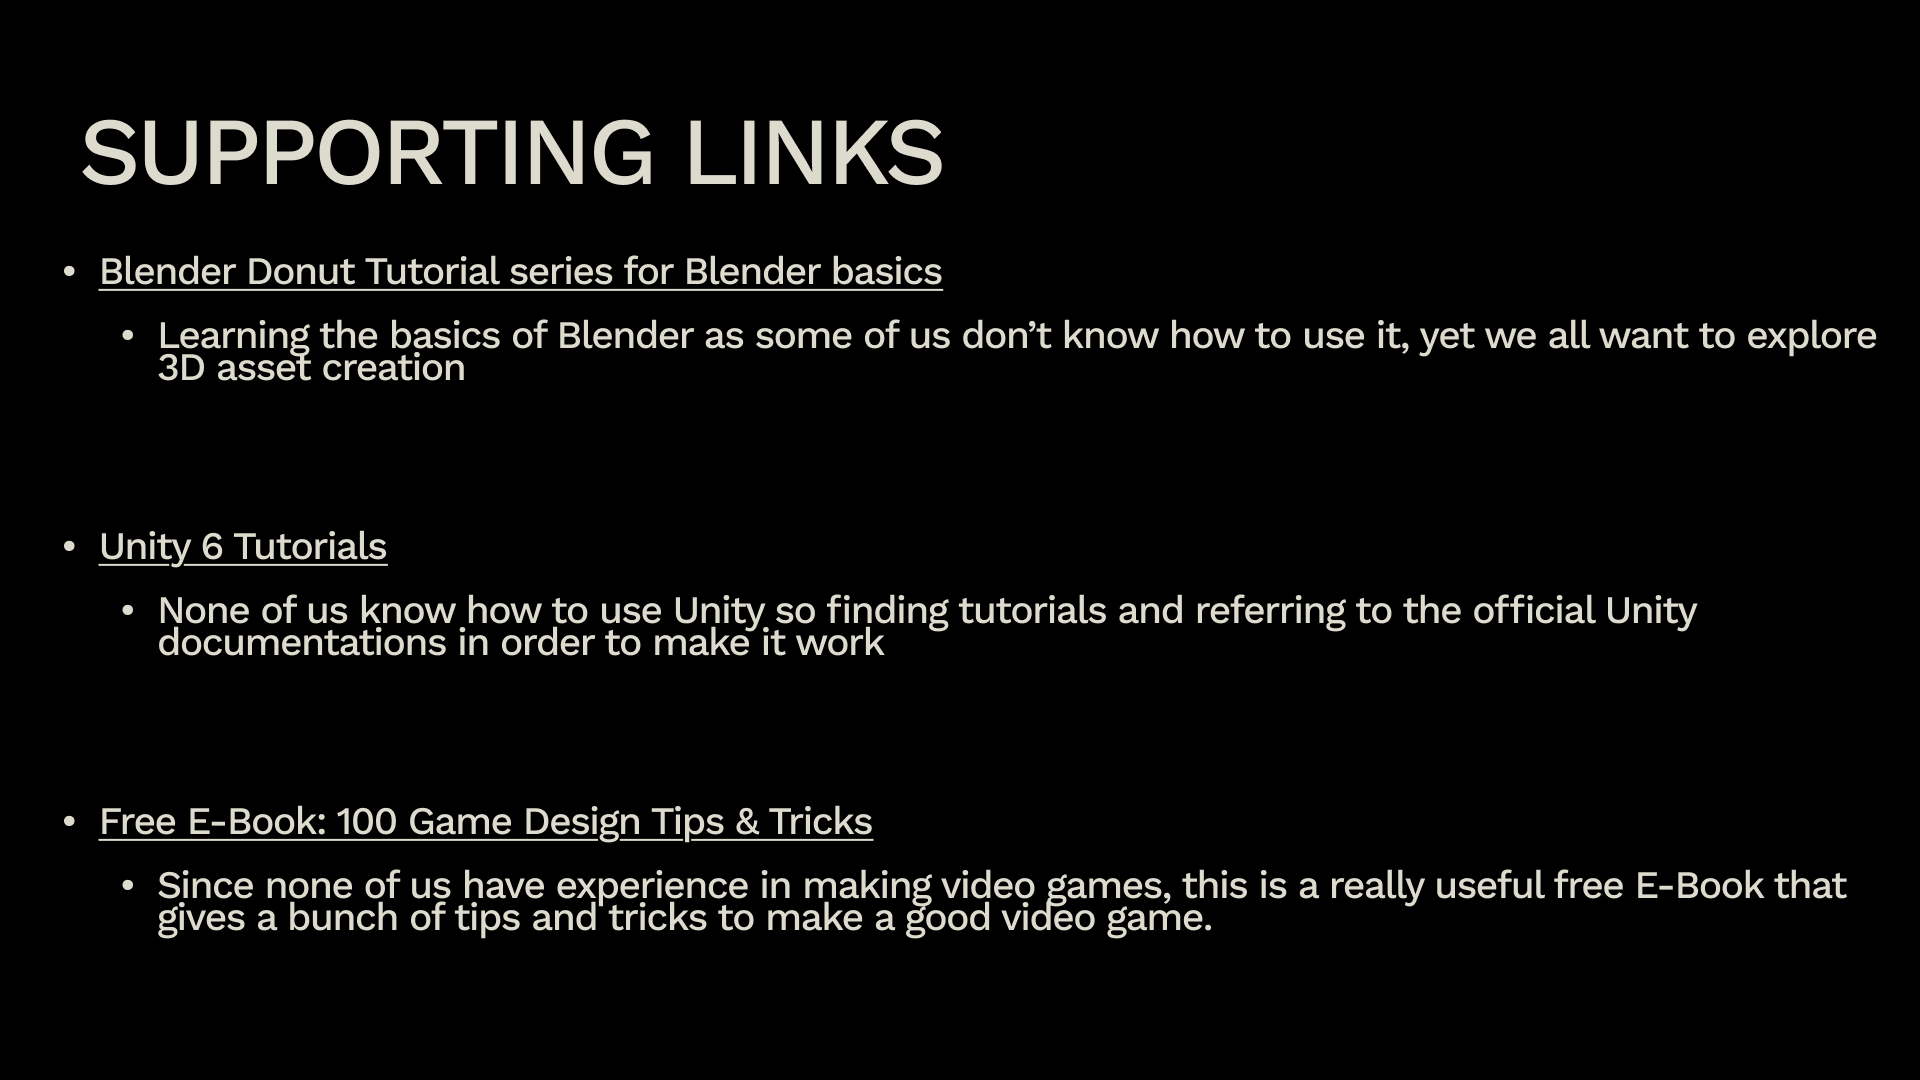
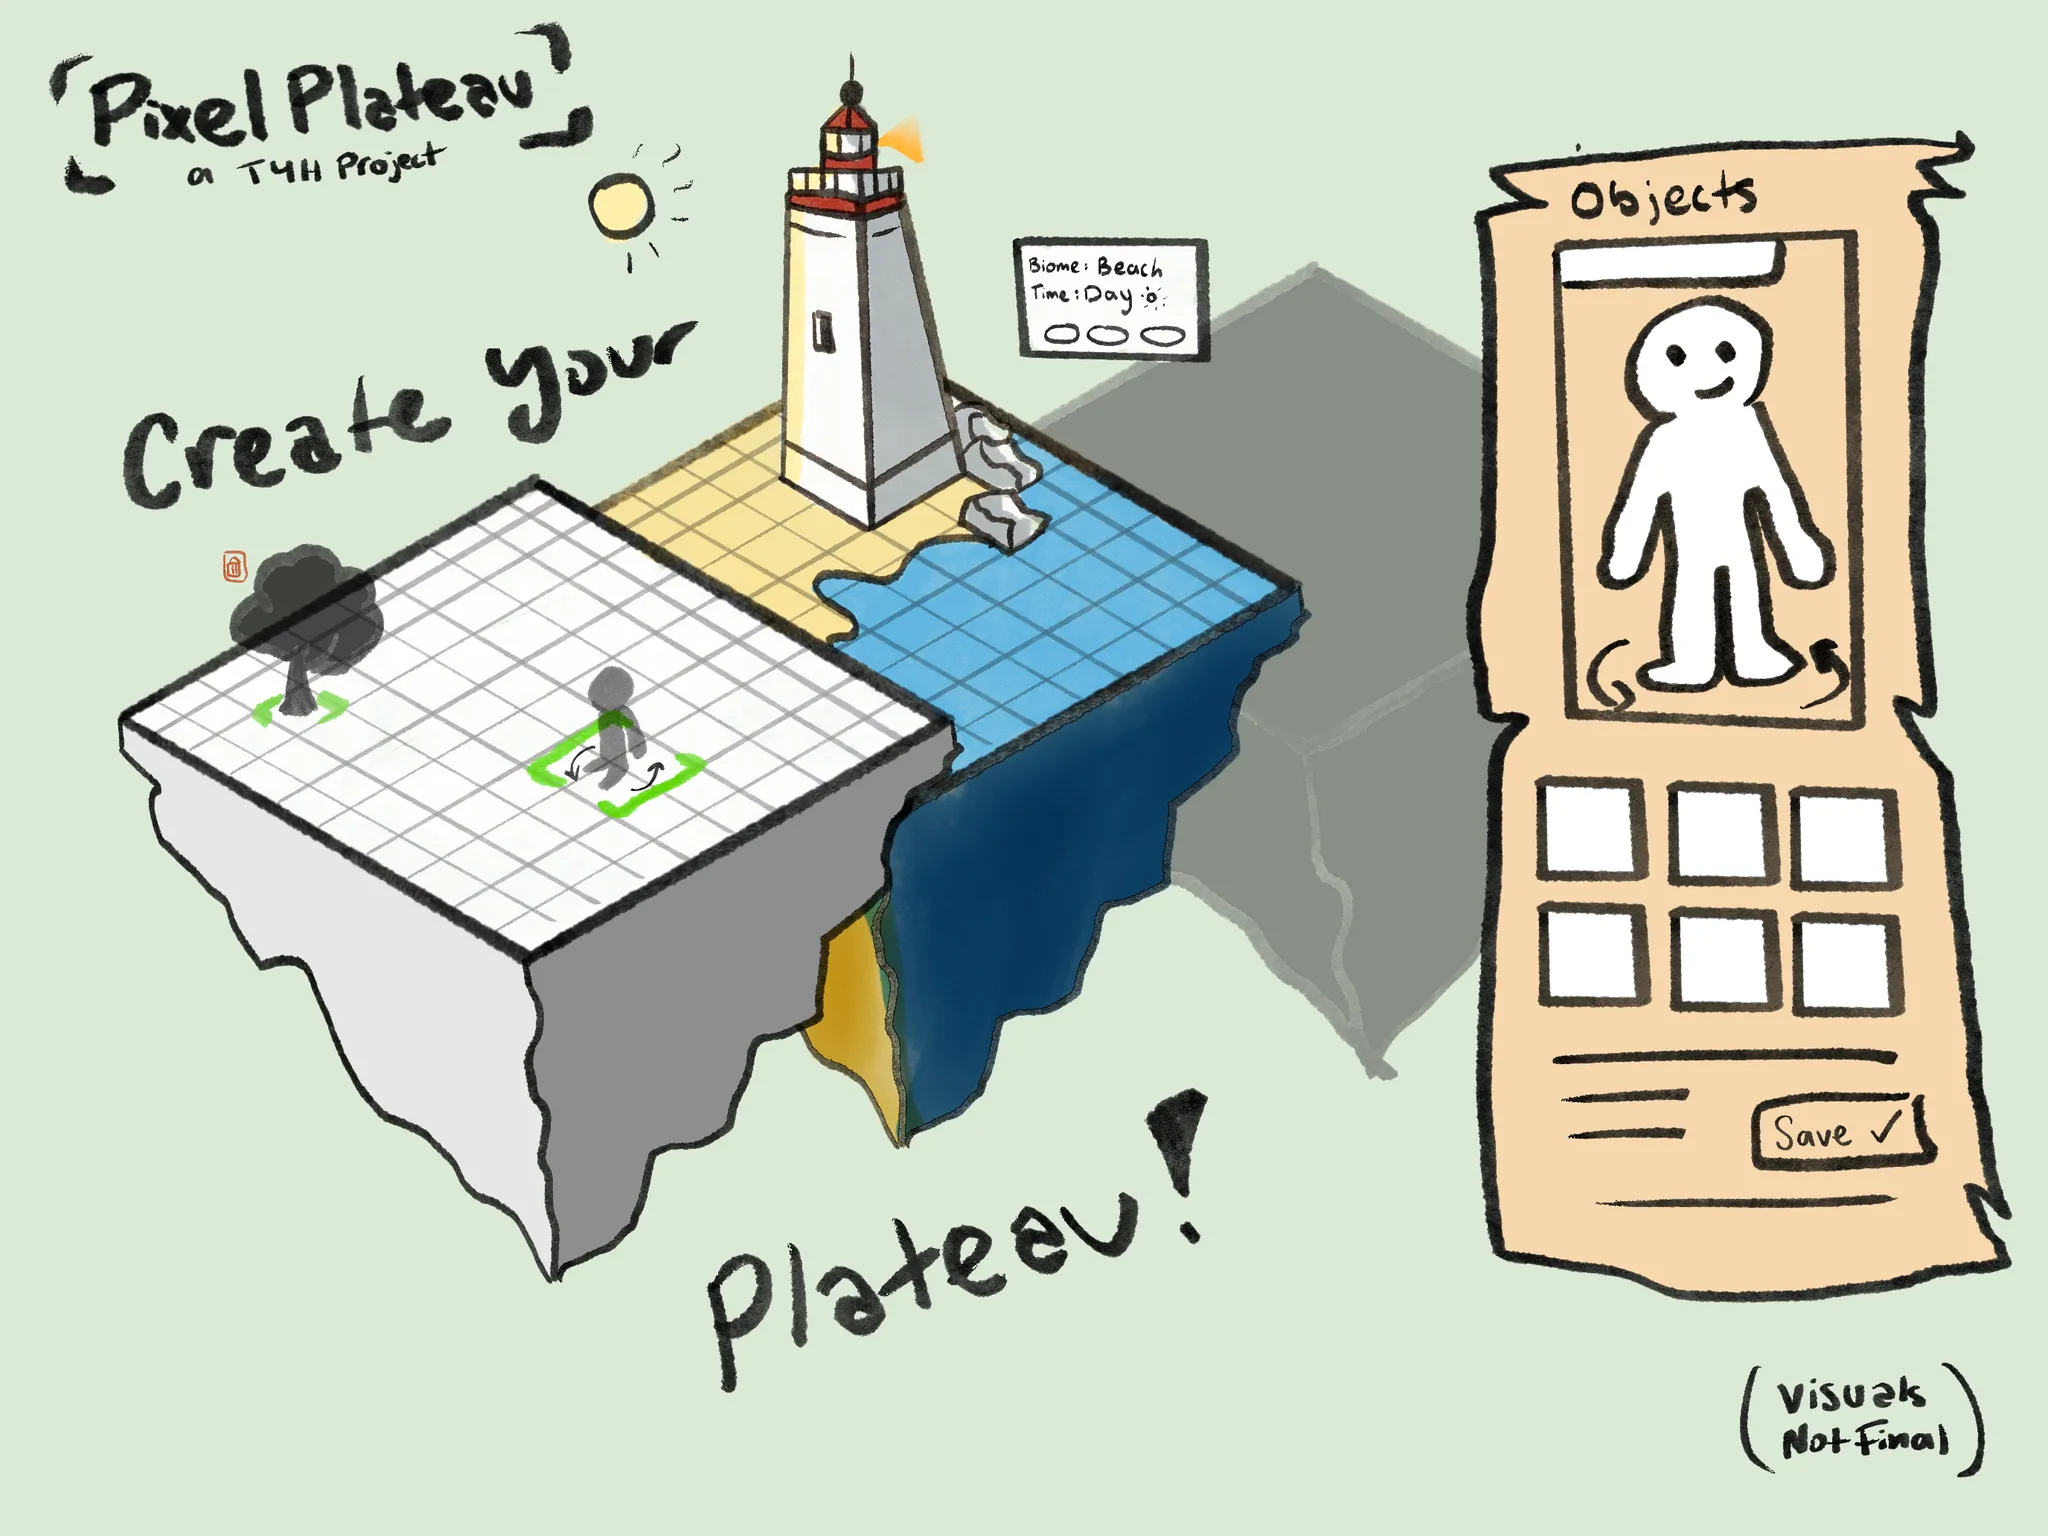
Our current project concept is one titled "Pixel Plateau", a 3D sandbox game that would utilize Blender, Unity, Aesprite, and Figma to bring it to life. Users would be able to create customizable floating tiles / islands, with customizations including different environmental tiles and objects, a simple character creator, and more. Users could rotate and control a simple customizable character. Creations you are satisfied with can be saved and shared with others.
We plan on a soft, bookish aesthetic for the UI while utilizing low poly 3D models with a pixel art filter much like other games such as A Short Hike, Enter the Gungeon, and Smush Comes Home.
Research Reflection
Out of these areas of focus, some of the most helpful pieces of feedback we received involves the discussion surrounding Unity. When talking to a peer more familiar to unity then ourselves. they provided useful information on what to keep in mind when tackling the software. One of the biggest pieces of advice they mentioned involved understanding our scope, and stressing the fact that feature creep in game development is extremely easy. Understanding our scope is important, thus to lead us to stack to them for as long as possible before adding the finer details.
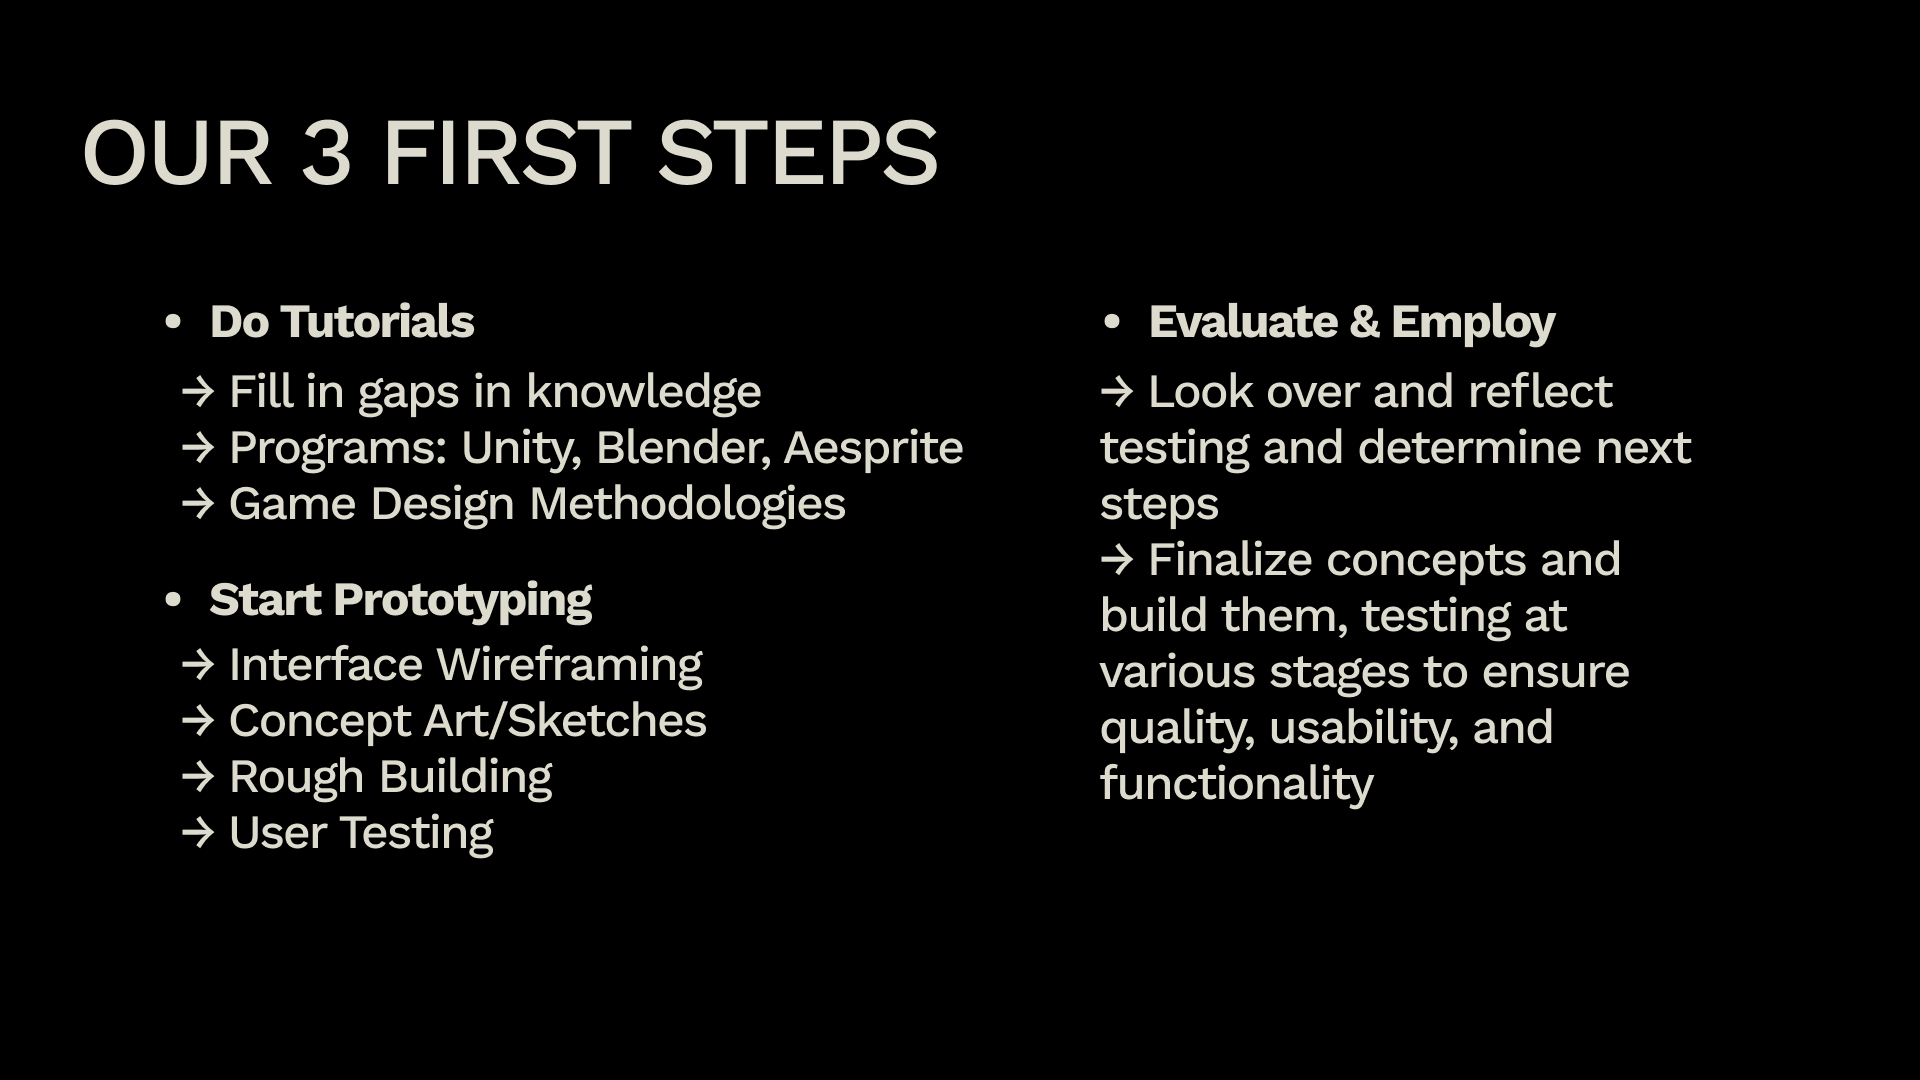
Next Steps
For next steps, Following all the advice we received, and by observing the projects of others, I came to realize how important it is to define and limit scope. As we plan on delving into Unity, a software we have yet to really deep dive into ourselves beyond research, it is imperative that we spend a significant portion of our time understanding and figuring out how to tackle many of the technical aspects of the project we desire to implement and that would have the strongest impact on the final product. By first understanding how the software works and what needs to be done to reach these aspects, only then should we start worrying more about the smaller parts of the project and the ins and outs of the finer details. By solidifying a simple yet straight forward scope with these details in mind, I believe we can comfortably make substantial progress that we feel is inline with our goals.
Powered by w3.css